

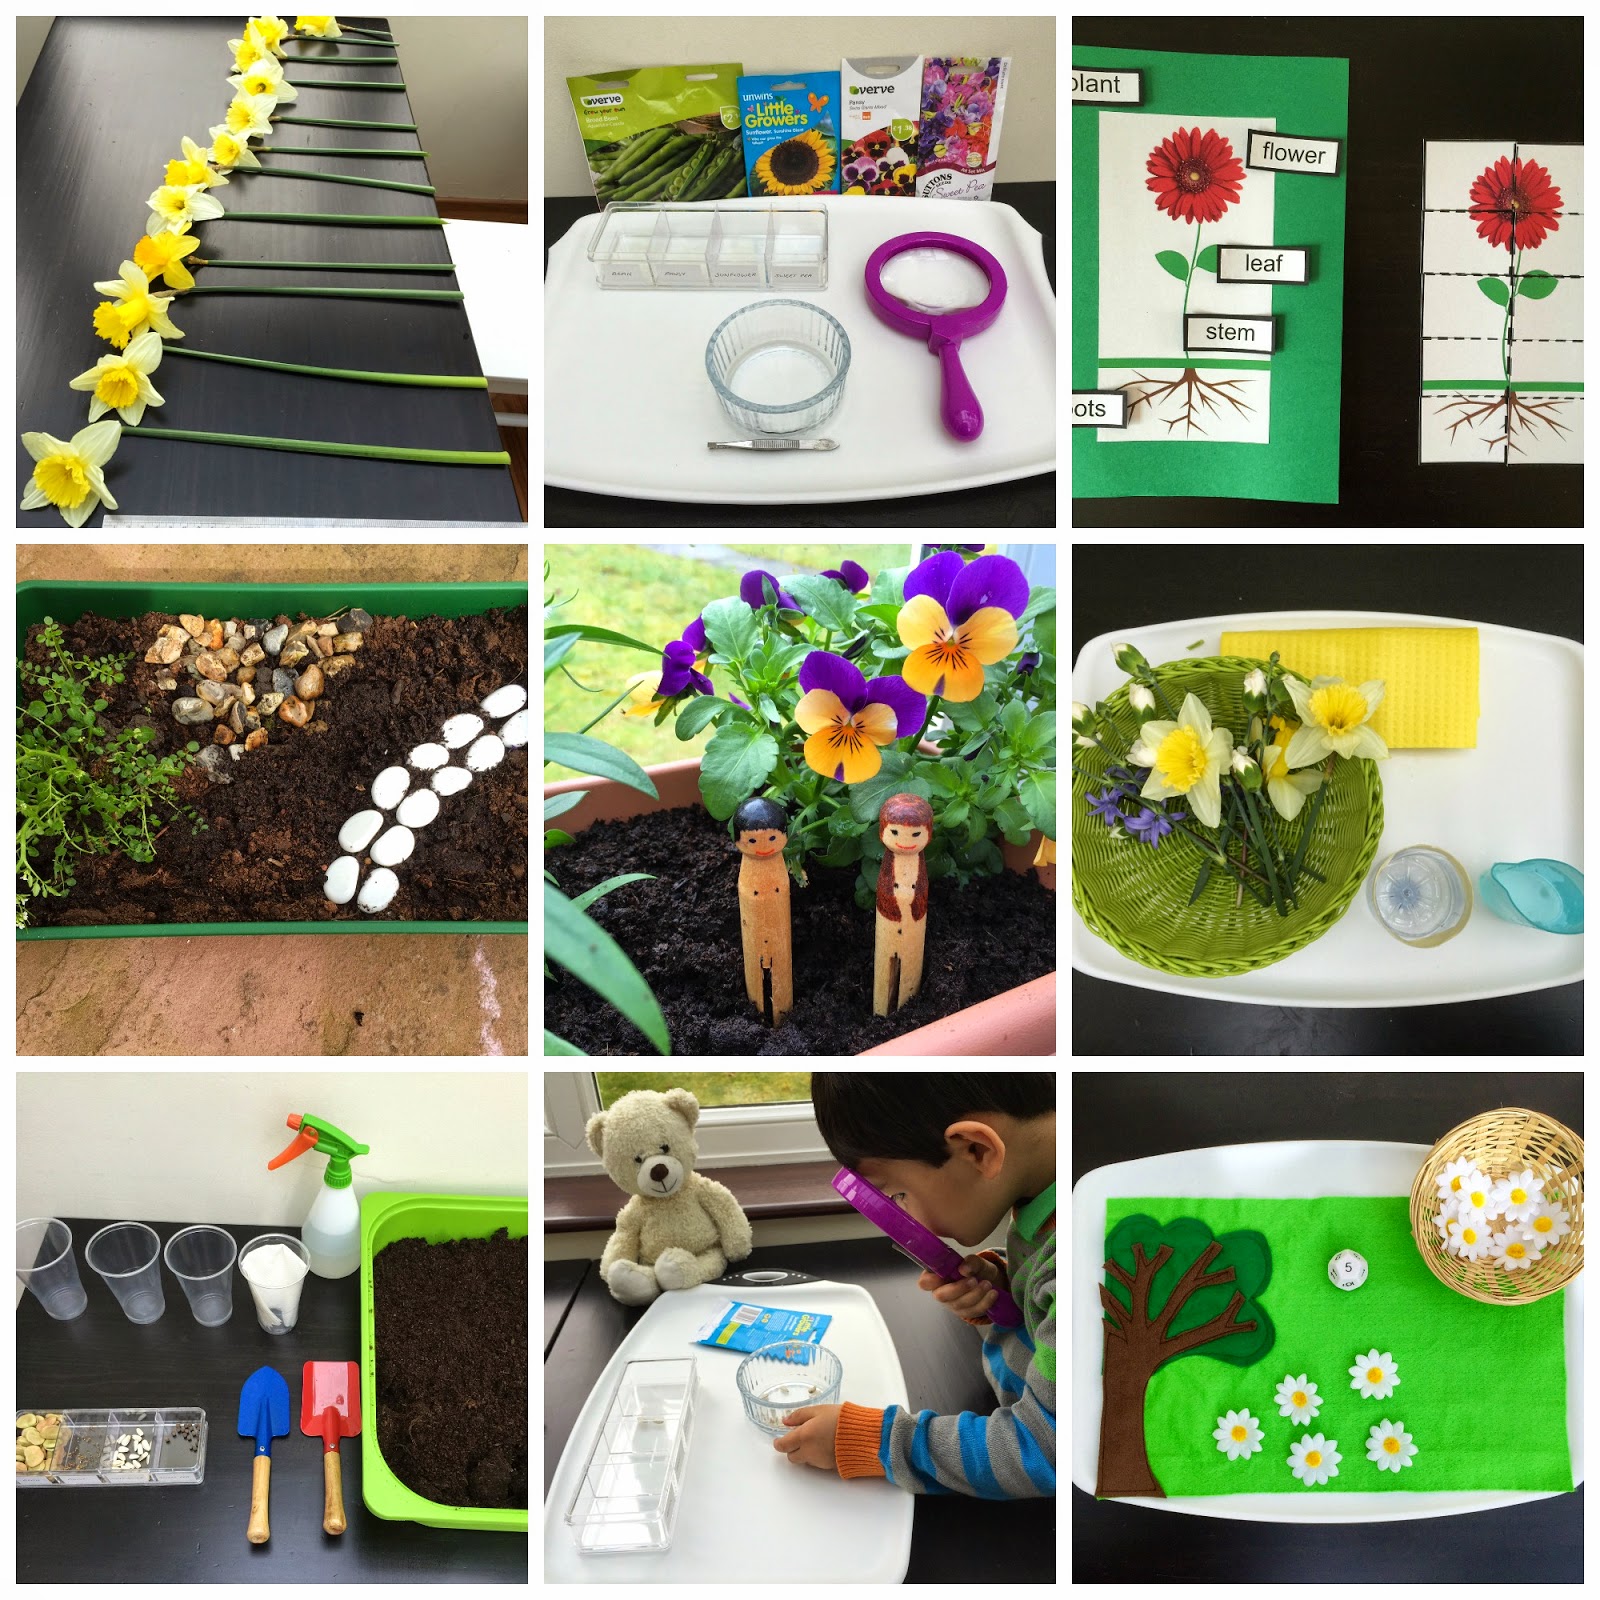
This month we have been celebrating the arrival of spring with lots of flowers. Both boys love flowers and their interest in them led me to create the activities below. For more details about each activity, please click on the sub-headings. (We still have a few more planned so I will be adding to this page):
This activity was all about exploring the texture, patterns and size of seeds as well as understanding how a seed develops into a plant.
The seed planting exercise was so popular that we decided to conduct an experiment based on The Parable of the Sower. We planted seeds on rocky ground, among weeds, on a path and in good soil to observe how the environment in which a seed is planted effects the plant's growth.
This is a classic Montessori exercise, but one which we haven't tried before. This was an activity that both my toddler and pre-schooler were able to do.
The sensory tub was an opportunity to explore the different textures, smells and colours of the garden. This tub was enjoyed by my toddler, Dooey.
Alongside learning about spring, we have been reading the creation story and decided to plant our very own Garden of Eden with our resident (for now!) Adam and Eve. It is a garden that my sons water and take care of.
Learning to identify the names given to parts of a plant.
My way of sneaking in a bit of maths!


.jpg&container=blogger&gadget=a&rewriteMime=image%2F*)


.jpg)